Author: ronald
Source: Planet OpenStack
My previous Ubuntu OpenStack setup has been using the Juno release. I received some installation problems for Kilo using the stable repo and so I switched to using the experimental repo. This comes with a number of surface changes.
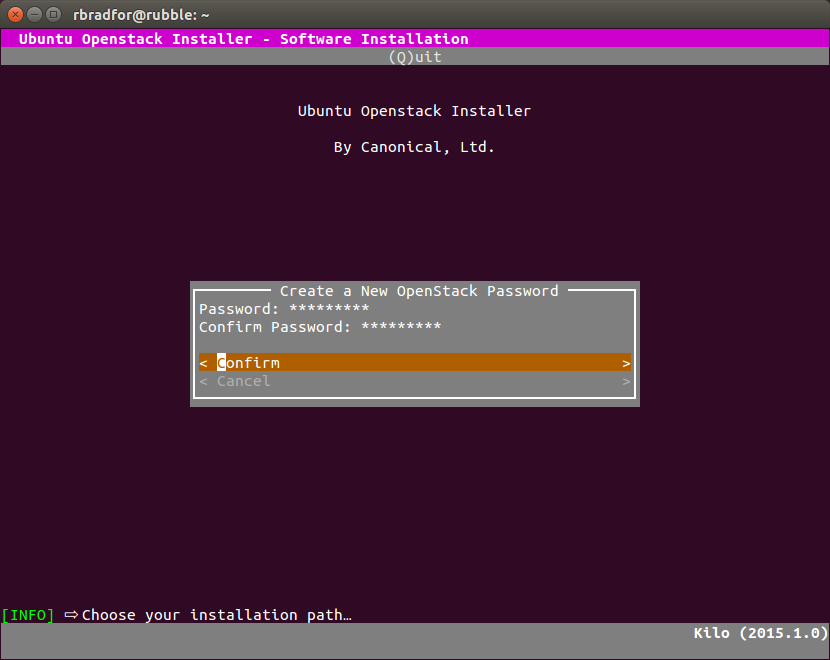
- The interactive installation asks for the installation type first, and password second.
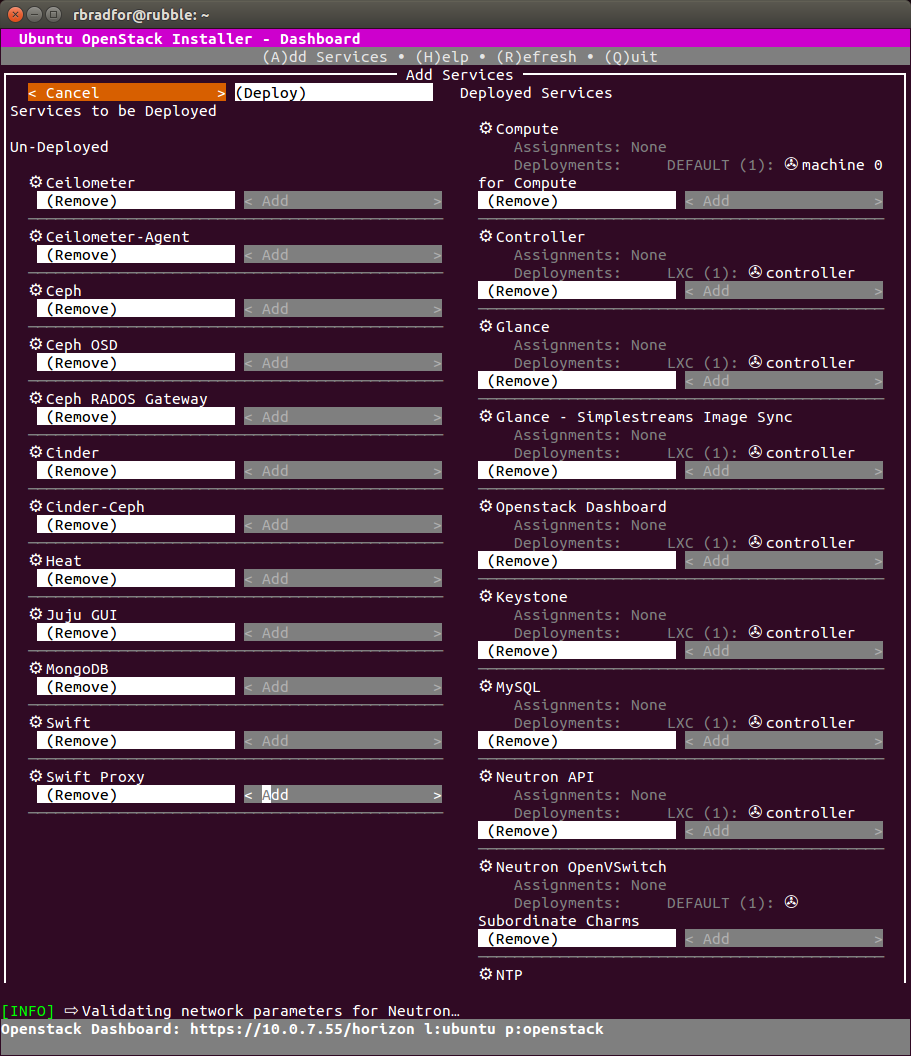
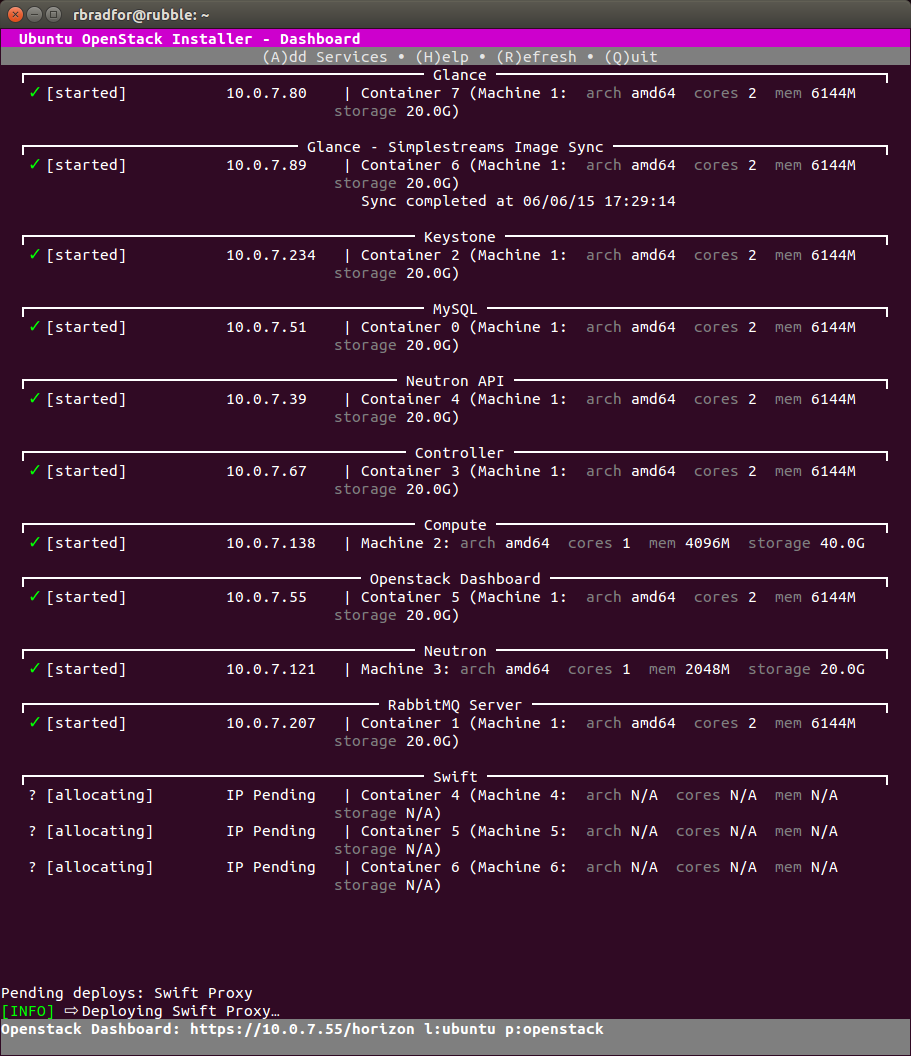
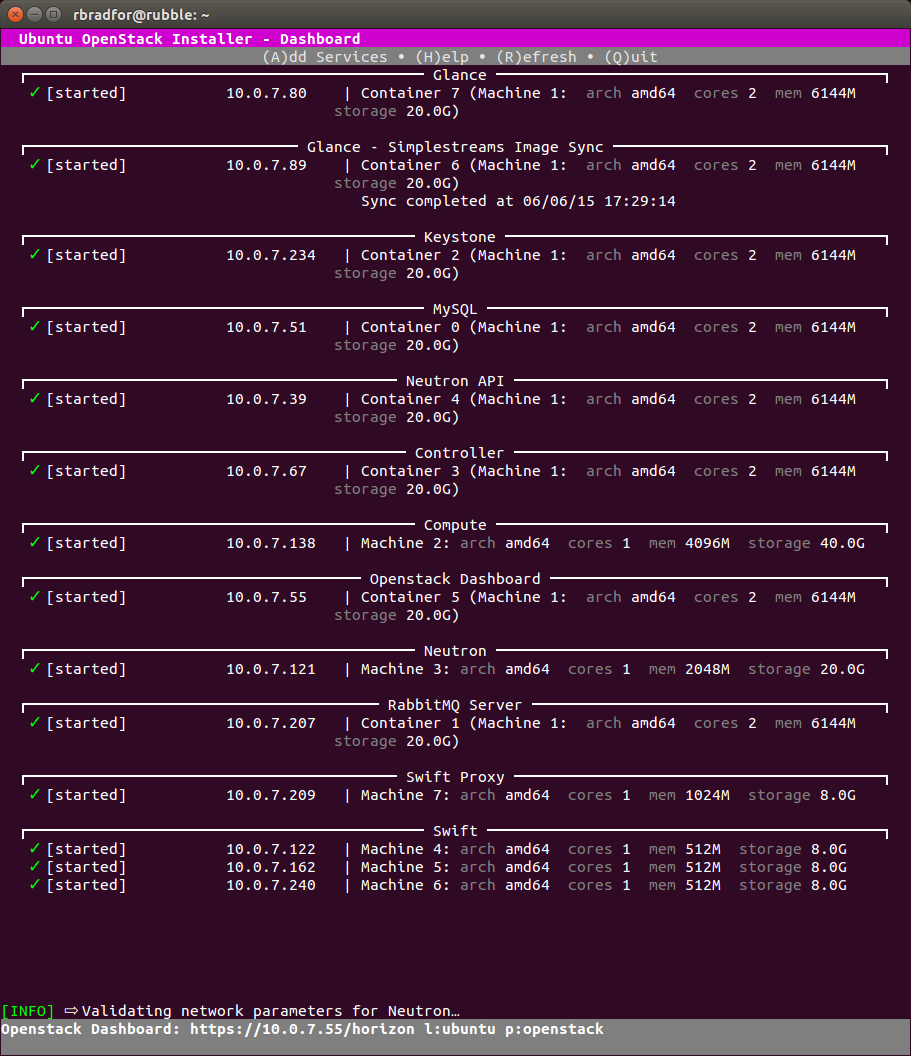
- The IP range of installed OpenStack services changes from 10.0.4.x to 10.0.7.x.
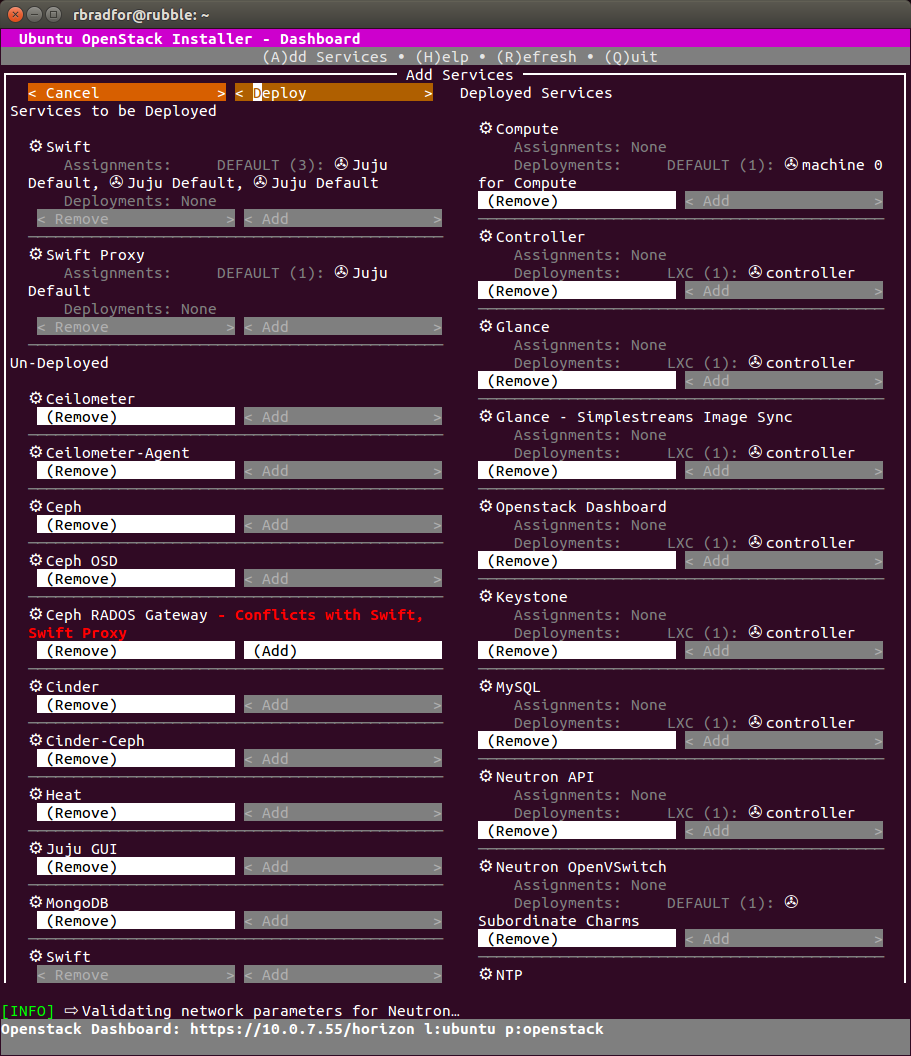
- Juju GUI is no longer installed by default. You need to specifically add this as a service after initial installation.
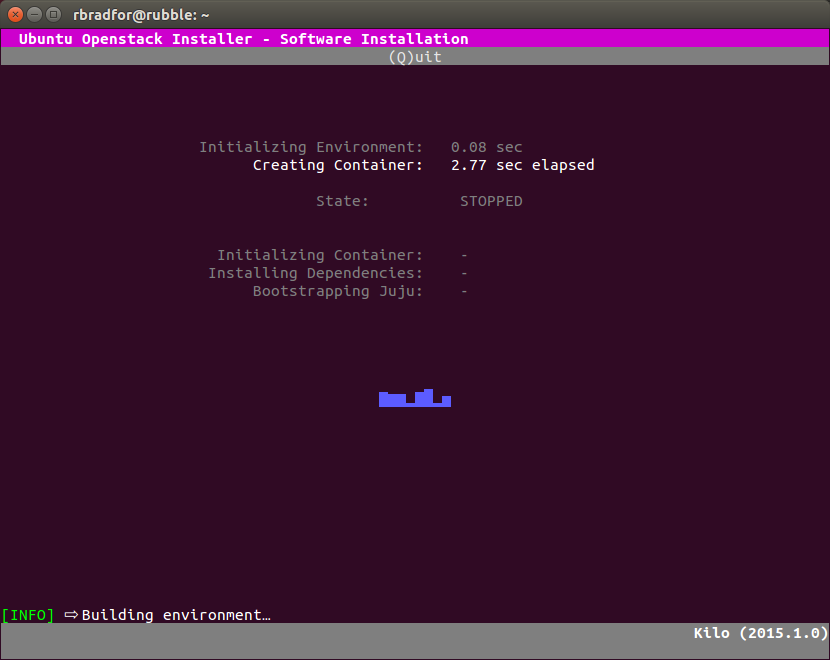
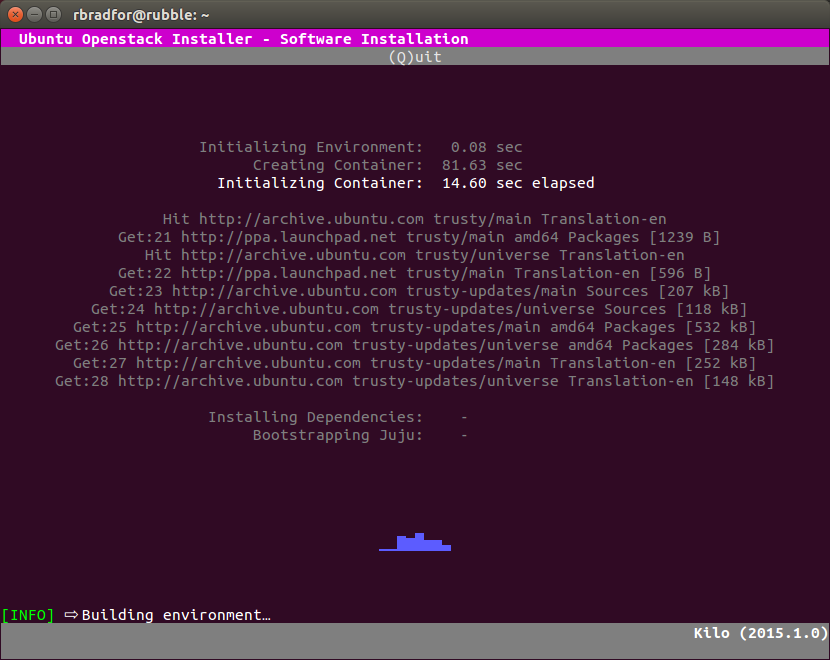
- The GUI displays additional information during installation.
- The LXC container name changes from uoi-bootstrap to openstack-single-<user>.
Uninstall any existing environment
Remove any existing installed OpenStack cloud.
sudo openstack-install -k
sudo openstack-install -u
NOTE: Be sure to remove your existing cloud before upgrading. Failing to do so will mean you need to manually cleanup some things with:
sudo lxc-stop --name uoi-bootstrap
sudo lxc-destroy --name uoi-bootstrap
rm -rf $HOME/.cloud_install
Update the OpenStack installer
Upgrade Ubuntu OpenStack with the following. In my environment this installed version 0.99.12.
sudo apt-add-repository ppa:cloud-installer/experimental
sudo apt-get update
sudo apt-get upgrade openstack
Install OpenStack Kilo
Installing an Ubuntu OpenStack environment still uses the openstack-install command.
sudo openstack-install --extra-ppa ppa:cloud-installer/experimental
NOTE: When using the experimental repo you must also specify the --extra-ppa argument. Not doing this will result in installation failure.

Adding Services
After setting up a Kilo cloud using Ubuntu OpenStack I was able to successfully add a Swift component. Something else that was not quite working as expected in stable.
Powered by WPeMatico